Description:
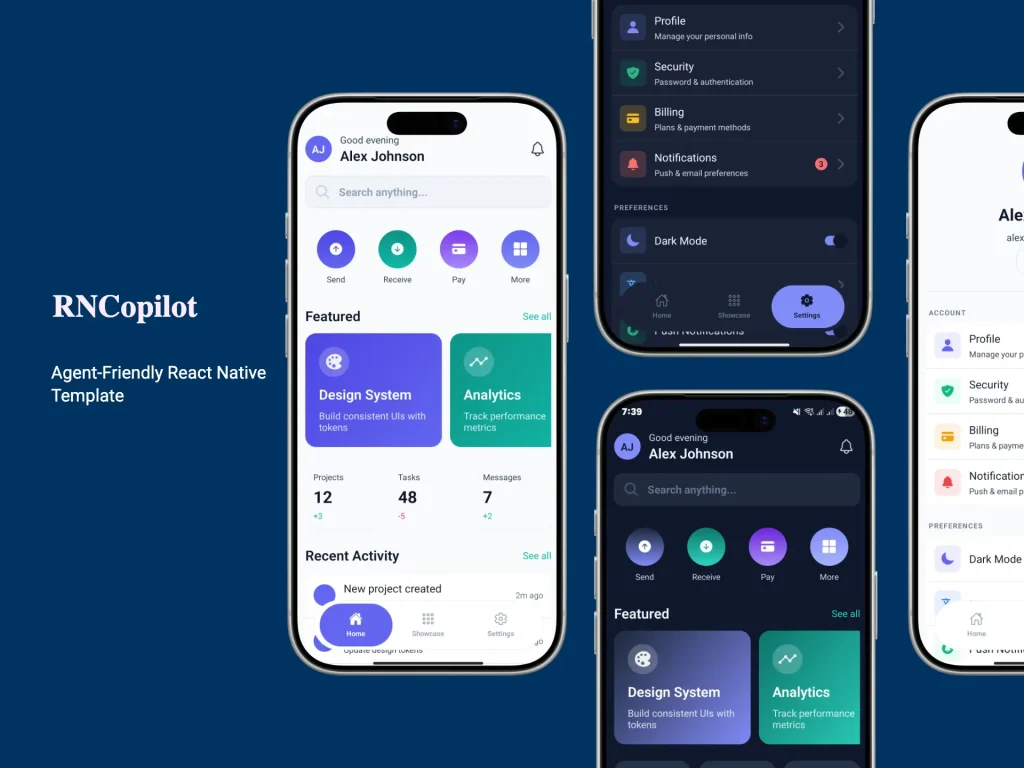
RNCopilot is a React Native Expo starter template with authentication, theming, internationalization, state management, API wiring, and a reusable UI layer.
It currently includes 33 production-ready UI components and instruction files for six AI coding assistants like Claude Code, Cursor, Windsurf, Cline, GitHub Copilot, and Codex.
Features
- Production-ready Expo and React Native project structure.
- Typed file-based routing with expo-router.
- Strict TypeScript setup with path aliases.
- Reusable themed UI component library for common mobile screens.
- Built-in authentication flow with route protection.
- Client state management with Zustand.
- Server state management with React Query persistence.
- MMKV-based local storage utilities.
- Axios API client with auth and error handling.
- Form handling with schema validation.
- English and Arabic translations with RTL support.
- Light and dark theme support with semantic tokens.
- Jest, ESLint, Prettier, Husky, and Commitlint already wired.
- AI coding tool instruction files for major agent-based editors.
- Migration and scaffolding scripts for faster project cleanup and expansion.
Use cases
- Start a SaaS mobile app with auth, forms, storage, and API structure already in place.
- Build an internal business app with reusable screens, validation, and persistent client state.
- Prototype a multi-language Expo app with dark mode and RTL support from day one.
- Standardize a team React Native codebase around strict tooling and shared conventions.
How to use it
1. Clone the template.
# Clone the repository into a new project folder
git clone https://github.com/FouadMagdy01/RNCopilot.git mobile-starter
# Move into the project
cd mobile-starter
2. Install dependencies. The current docs explicitly call for --legacy-peer-deps, so keep that flag in place for the initial install.
# Install project dependencies
npm install --legacy-peer-deps
3. Create your local environment file. All environment variables are optional. The template boots without Supabase or another backend configured, which makes it useful for UI work and local app structure setup before backend work starts.
# Copy the example environment file
cp .env.example .env
4. Start the Expo development server:
# Start the Expo dev server
npm start
From there, open the app on the platform you need:
# Run the native iOS target
npm run ios
# Run the native Android target
npm run android
# Run the web target
npm run web
These scripts come directly from the current package configuration.
5. Replace template identity before real work starts.
Start with the project-level identifiers and branding values.
{
  "expo": {
    "name": "Field Notes",
    "slug": "field-notes",
    "scheme": "fieldnotes"
  }
}
Update the rest of your app metadata in the same pass:
app.jsonpackage.json.env- translation files
- theme tokens
- storage key names
- tab screens and route groups
6. Use the migration script for cleanup:
# Launch the interactive migration wizard
npm run migrate
7. Start with the provided architecture.
// app/(main)/(tabs)/dashboard.tsx
import { ScreenContainer } from '@/common/components/ScreenContainer';
import { Card } from '@/common/components/Card';
import { Text } from '@/common/components/Text';
export default function DashboardScreen() {
  return (
    <ScreenContainer>
      {/* Reuse the shared UI layer for layout and presentation */}
      <Card>
        <Text variant="title">Dashboard</Text>
        <Text variant="body">
          Your project-specific dashboard content starts here.
        </Text>
      </Card>
    </ScreenContainer>
  );
}
The exact import paths will depend on how you keep or restructure the default folders, but the main idea is straightforward. Keep route files under app/ and shared code under src/, then use the built-in aliases to avoid long relative imports. The docs define @/* for src/* and ~/* for app/*.
8. Wire environment variables only when you need them.
The current environment reference includes the following public variables:
EXPO_PUBLIC_SUPABASE_URL(string): Supabase project URL.EXPO_PUBLIC_SUPABASE_PUBLISHED_KEY(string): Supabase anon or public key.EXPO_PUBLIC_API_BASE_URL(string): Base URL for the Axios client.EXPO_PUBLIC_SENTRY_DSN(string): Sentry DSN for error reporting.EXPO_PUBLIC_APP_ENV(string): App environment such as development, staging, or production.
Example:
# Supabase project URL
EXPO_PUBLIC_SUPABASE_URL=https://example-project.supabase.co
# Public Supabase key
EXPO_PUBLIC_SUPABASE_PUBLISHED_KEY=your-public-key
# Base URL for your API
EXPO_PUBLIC_API_BASE_URL=https://api.myproduct.dev
# App environment label
EXPO_PUBLIC_APP_ENV=development
9. Run the quality checks before you commit:
# Run TypeScript validation
npm run type-check
# Run ESLint
npm run lint
# Auto-fix lint issues where possible
npm run lint:fix
# Format the codebase
npm run format
# Check formatting only
npm run format:check
# Run the complete validation pipeline
npm run validate
validate currently runs type checking, linting, formatting checks, and i18n checks. That makes it a useful pre-commit command for team workflows.